
Sucuri Firewall is our Web Application Firewall. It virtually patches your site and stops attacks before they even happen.
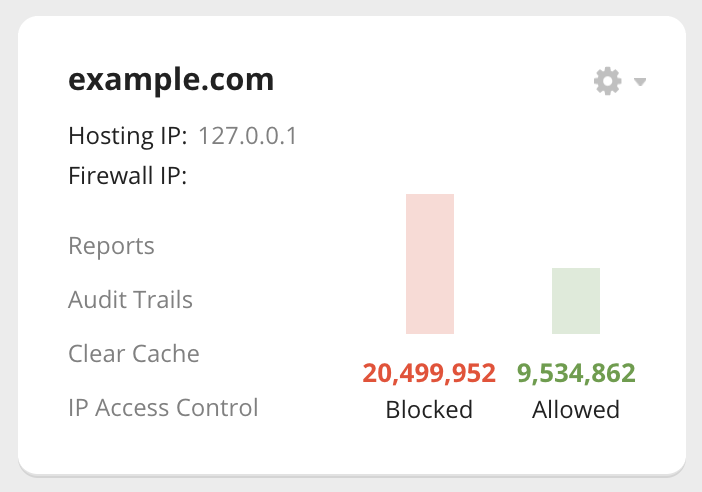
If you have the Sucuri Firewall activated on your Sucuri account, you can add it to your Sucuri Security Plugin. Once enabled, you can edit some settings, clear your site’s cache and check your logs in your WordPress dashboard.
Follow these steps to enable the firewall portion of the plugin:
-
Log in to the Sucuri account. Navigate to the firewall dashboard and click on your site.
-
Click on “API” option from the navigation choices and copy the API Key (for plugin).

-
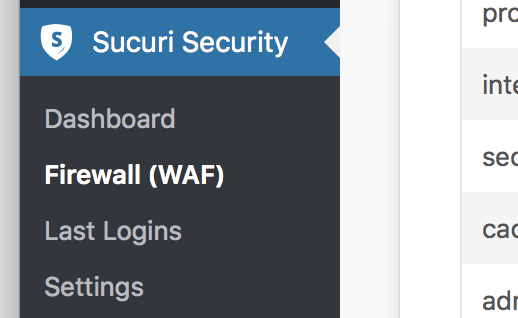
Log in to your WordPress admin, find the Sucuri Security plugin on the sidebar and go to Firewall (WAF).
-
Paste your API Key and then click Save.
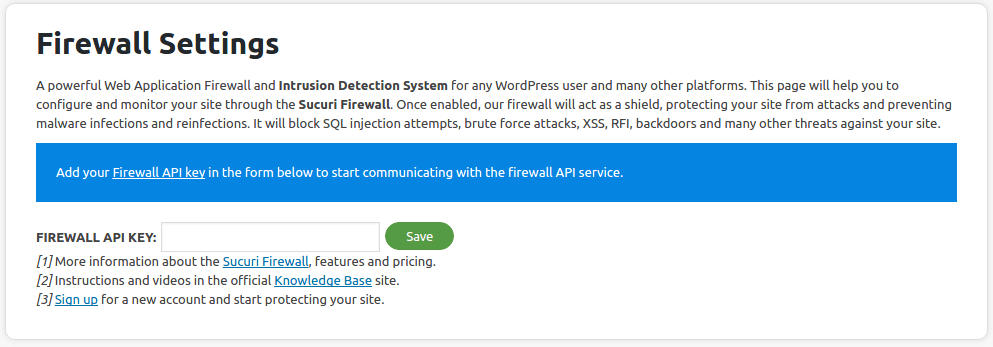
That’s it!
If you don’t have the Sucuri Firewall yet, you can sign up here.