
Enabling server side scanning is very simple. Just follow these steps:
Once you log in to your Sucuri account if you haven’t already added your site to the dashboard click here to get started. If your site has already been added click on the tile with your website’s name.
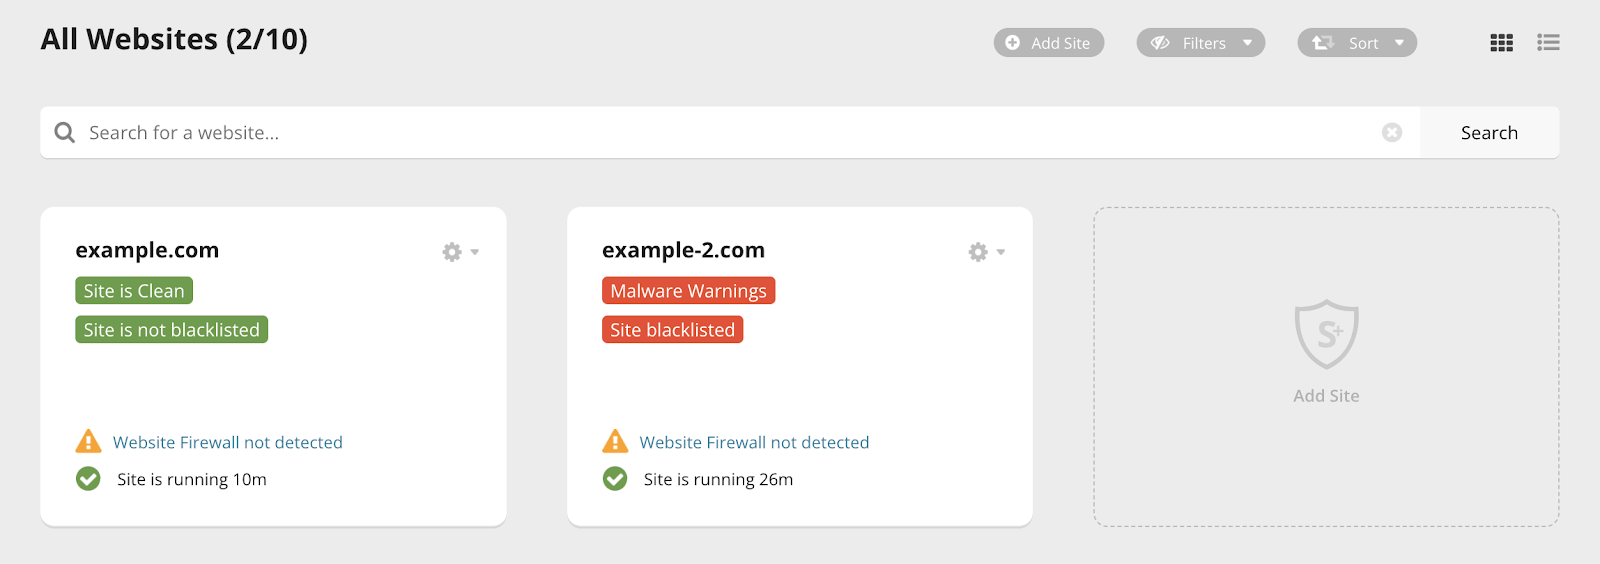
This will take you to the Monitoring Overview.
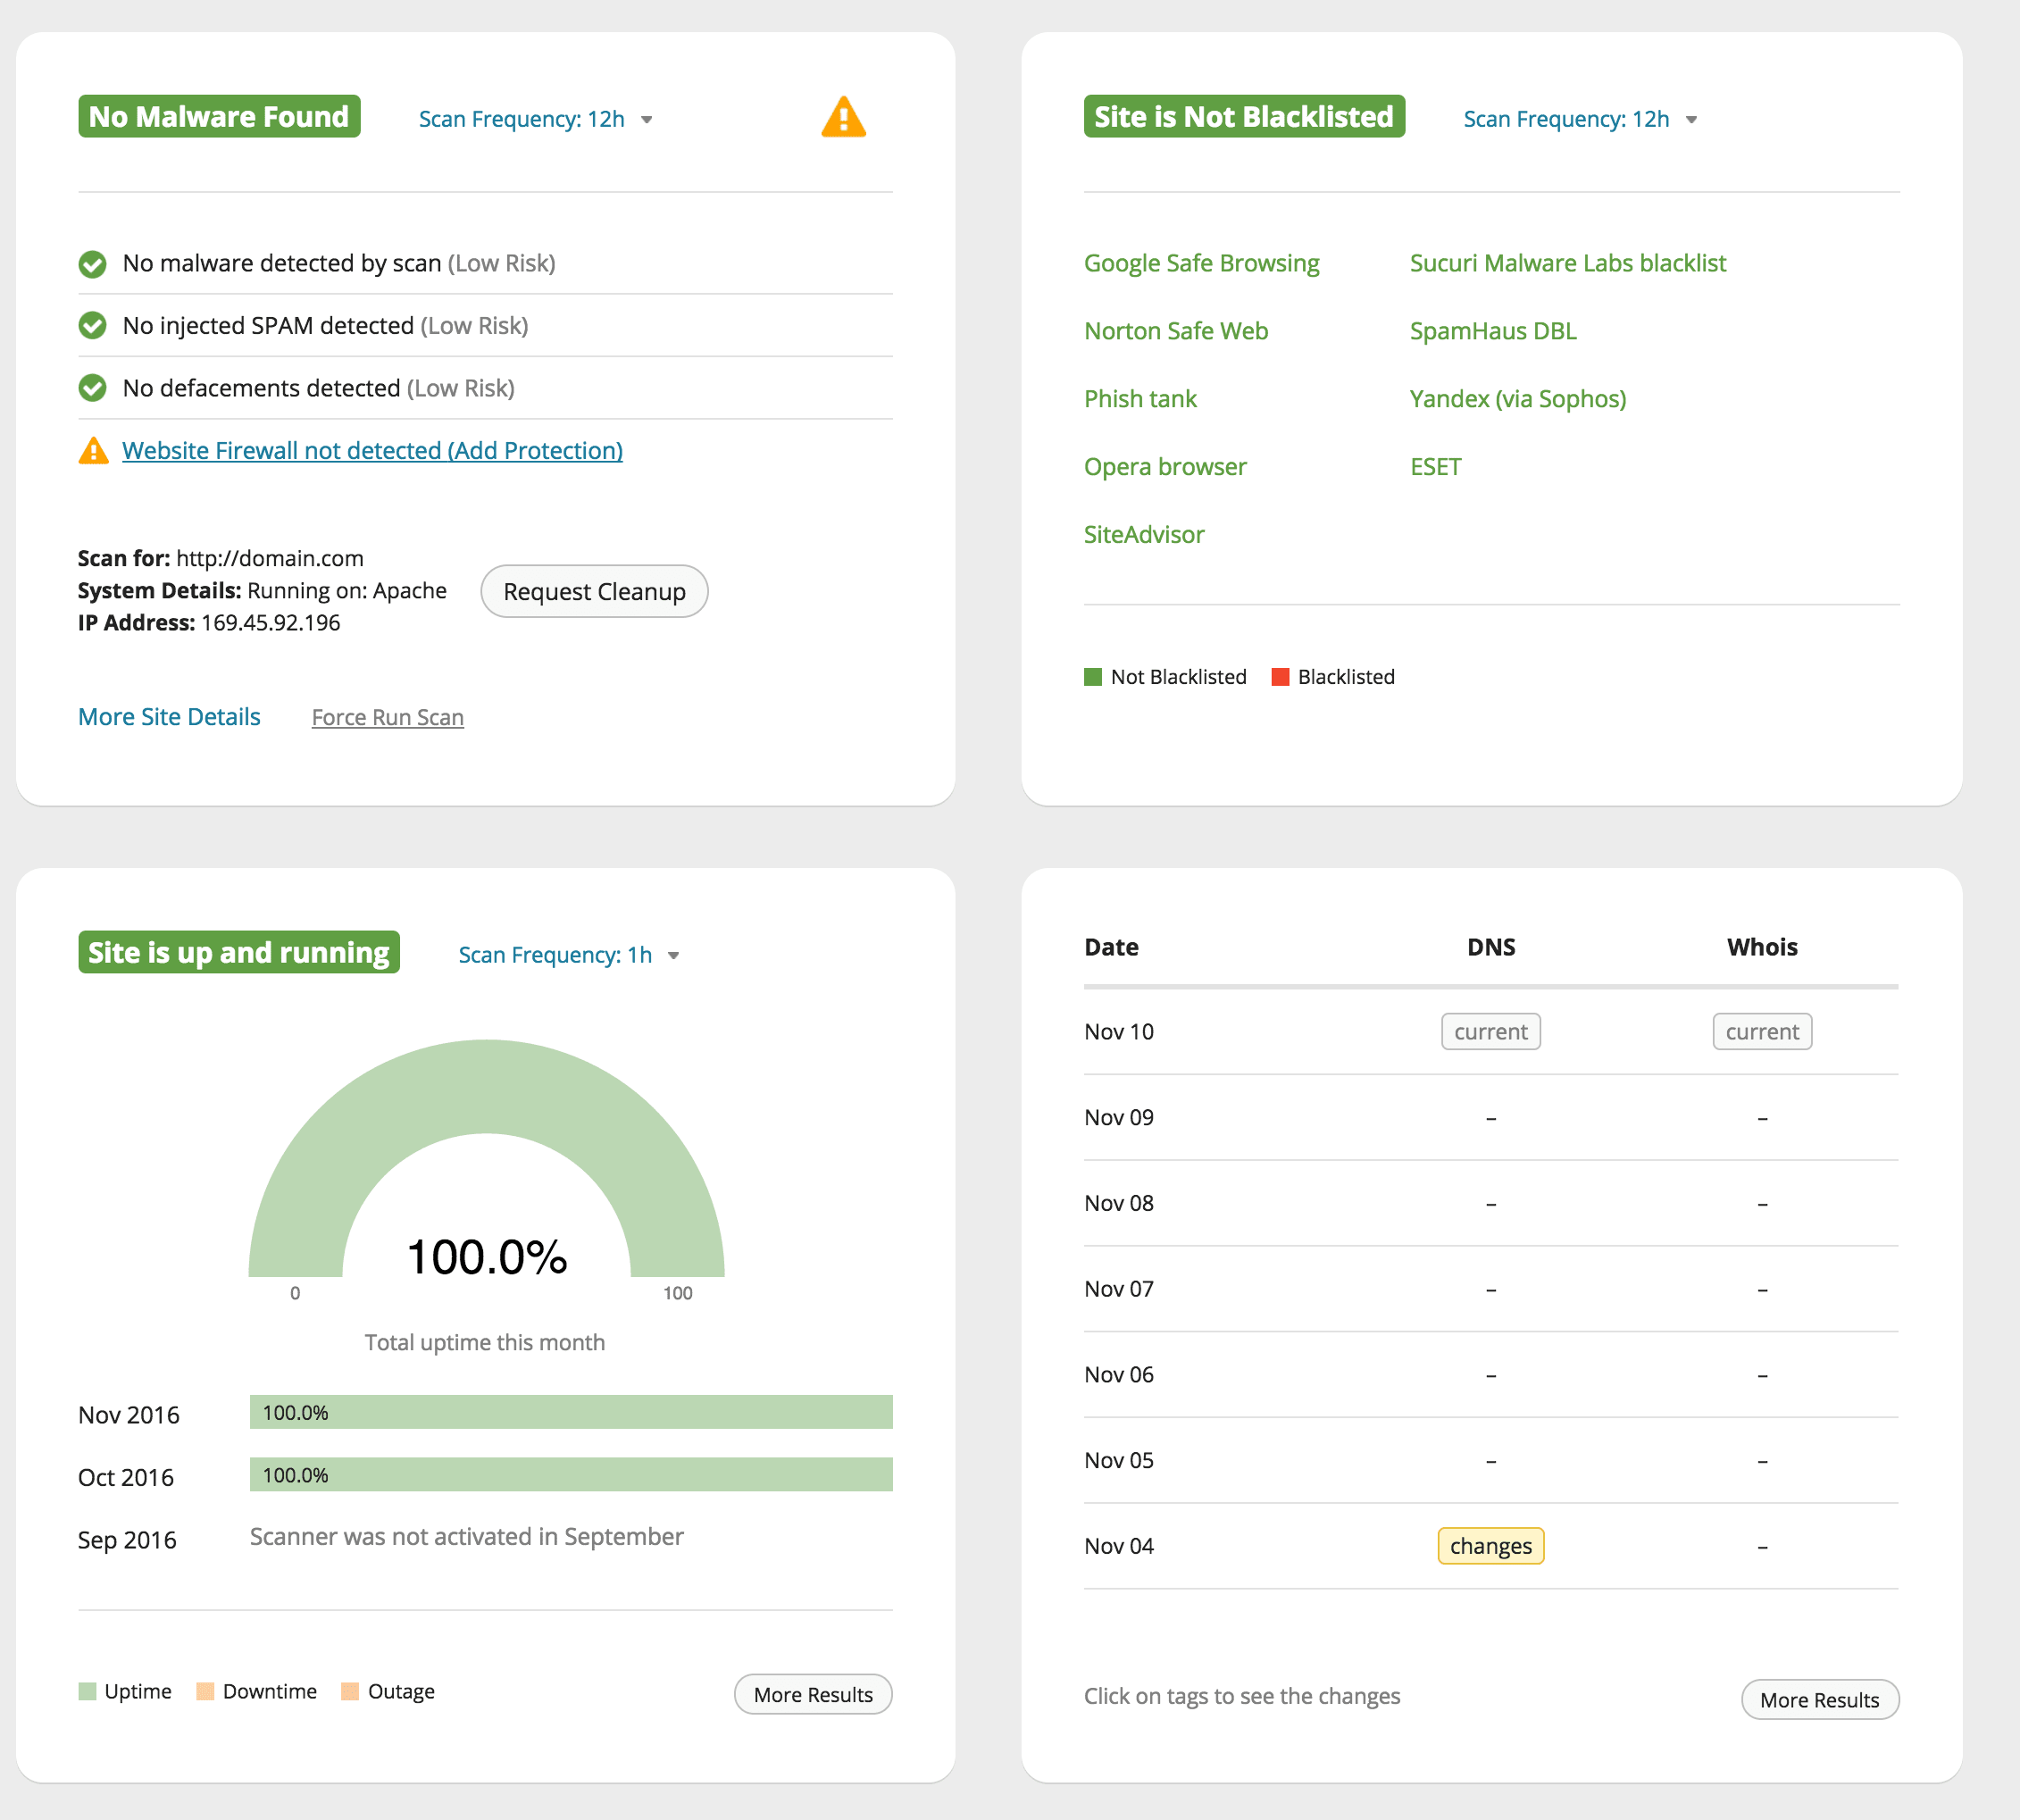
Even though your site has been added to the dashboard, Server Side Scanning still needs to be enabled. The server side scan is much more thorough than the external scan.
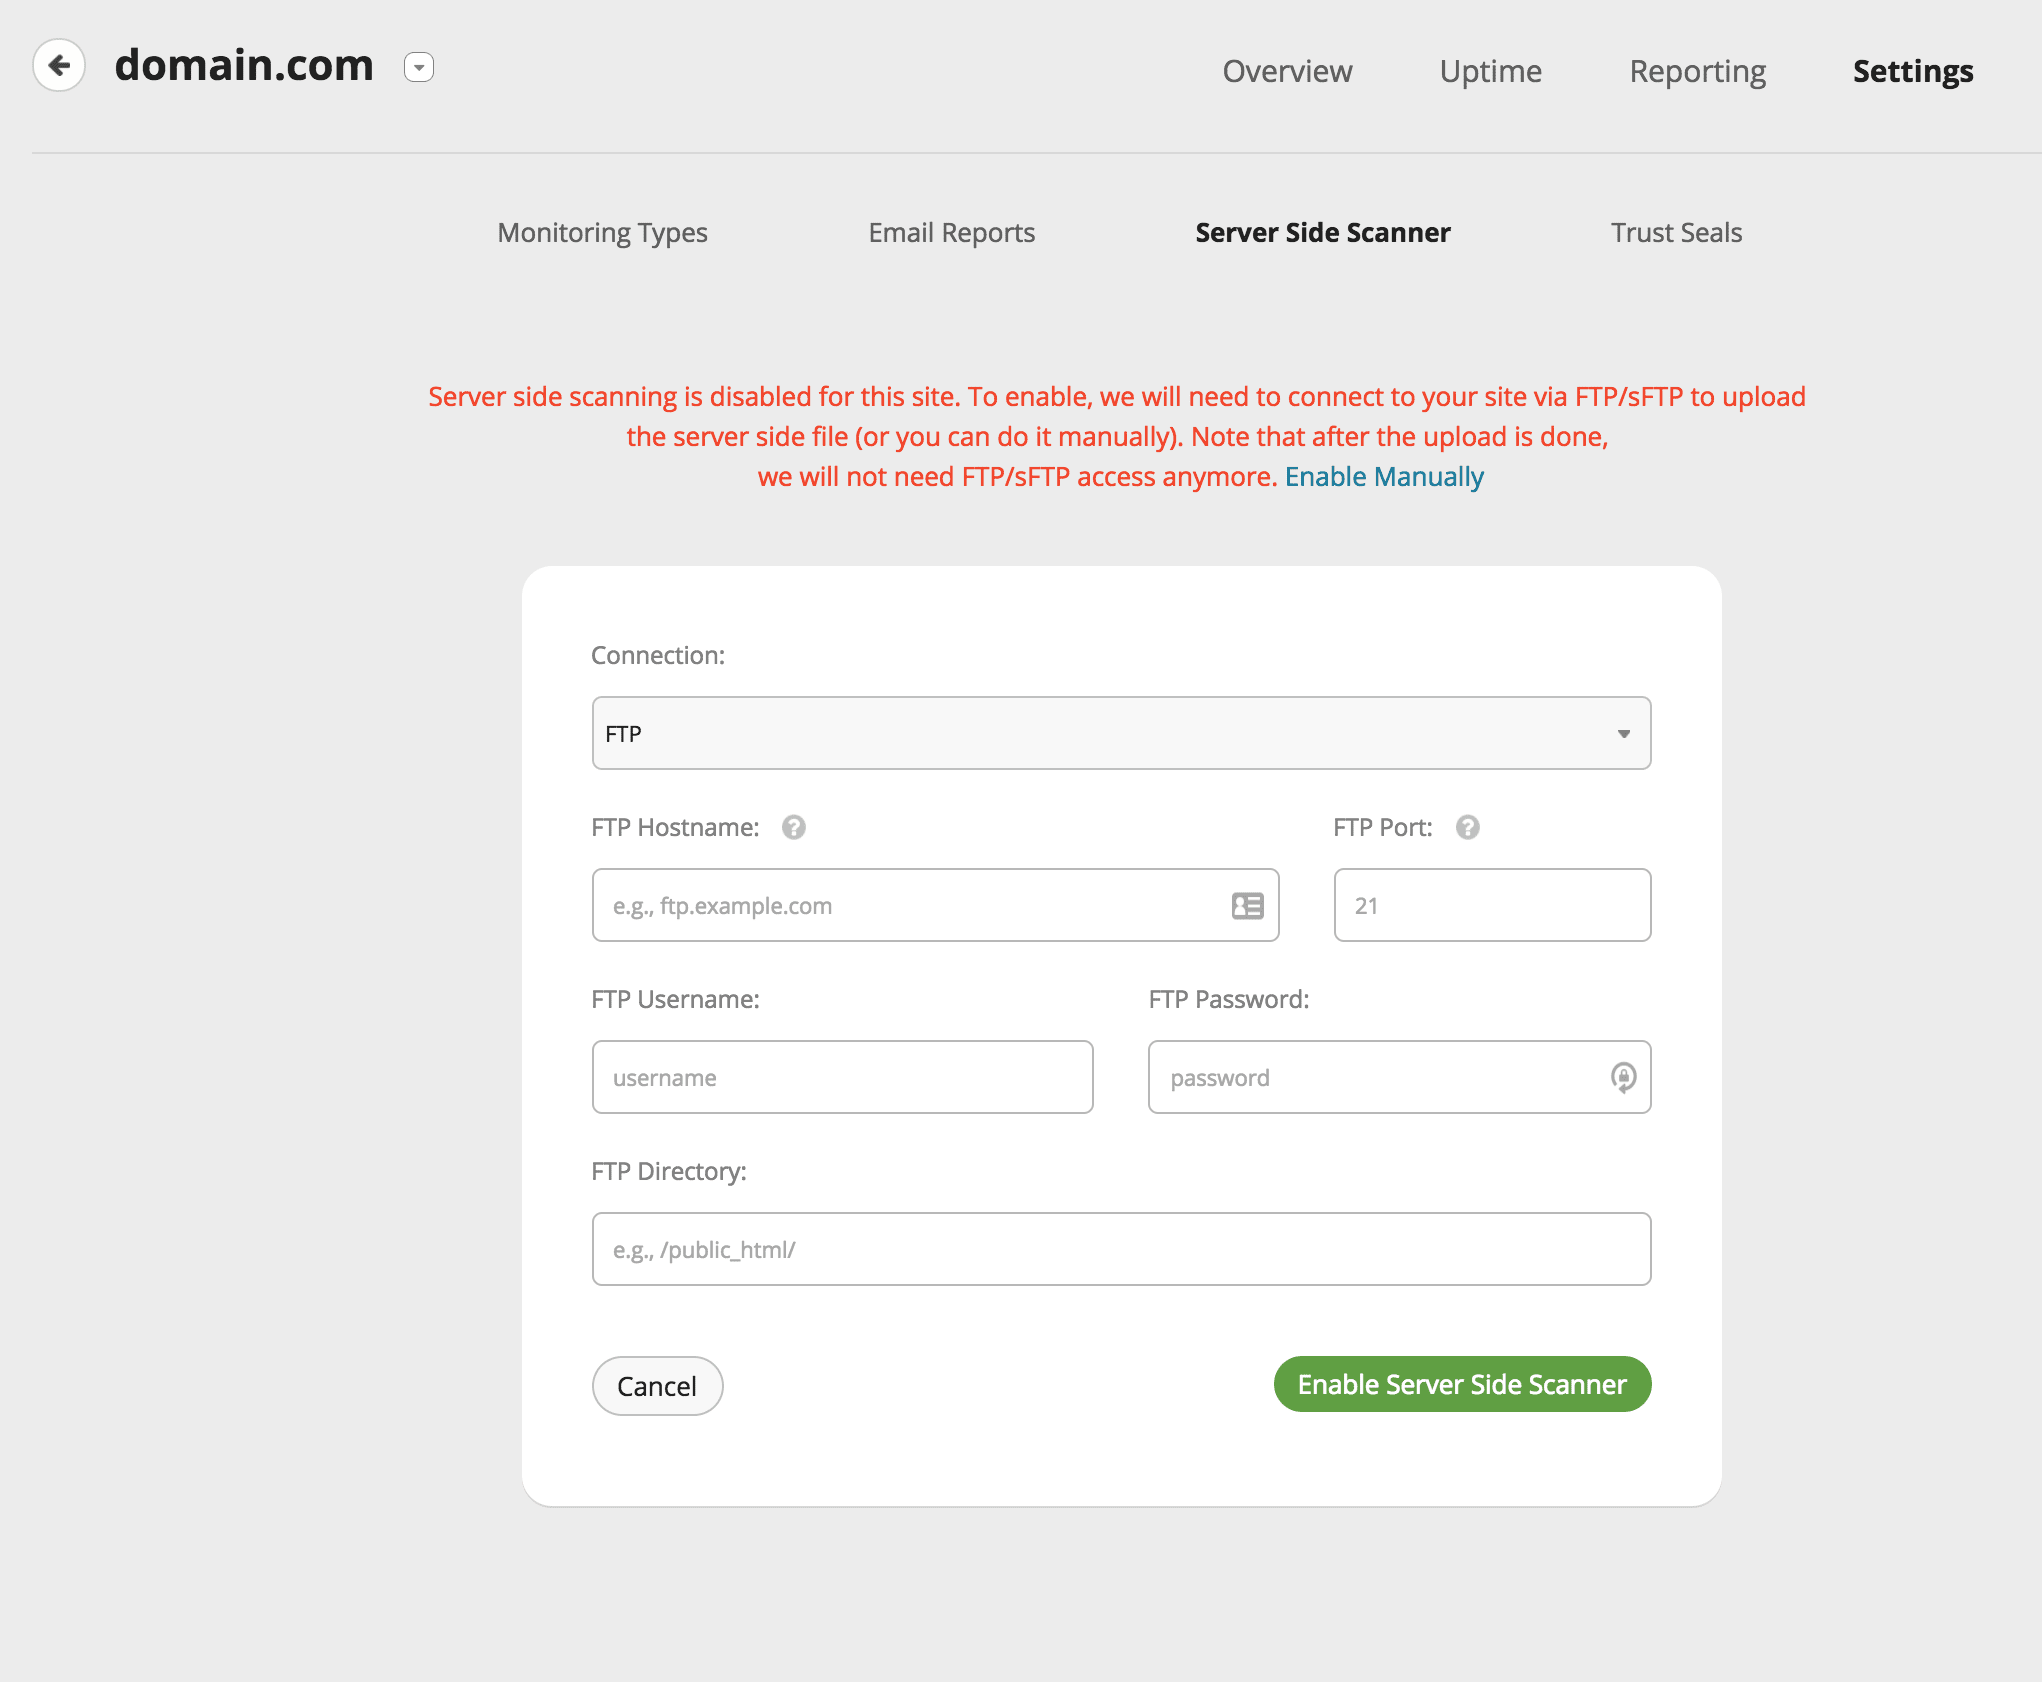
To enable it, you need to enter your FTP credentials into our system. You can start by clicking on the site and then Settings > Server Side Scanner.
There are two ways of doing this: automatically or manually.
Automatically:
Enter your FTP host, username, password and directory into the boxes below.
Manually:
If you run into issues or if you don\’t know your FTP credentials, you can try manual verification.
Once the file is on the server, just click on “Verify File and Enable.”
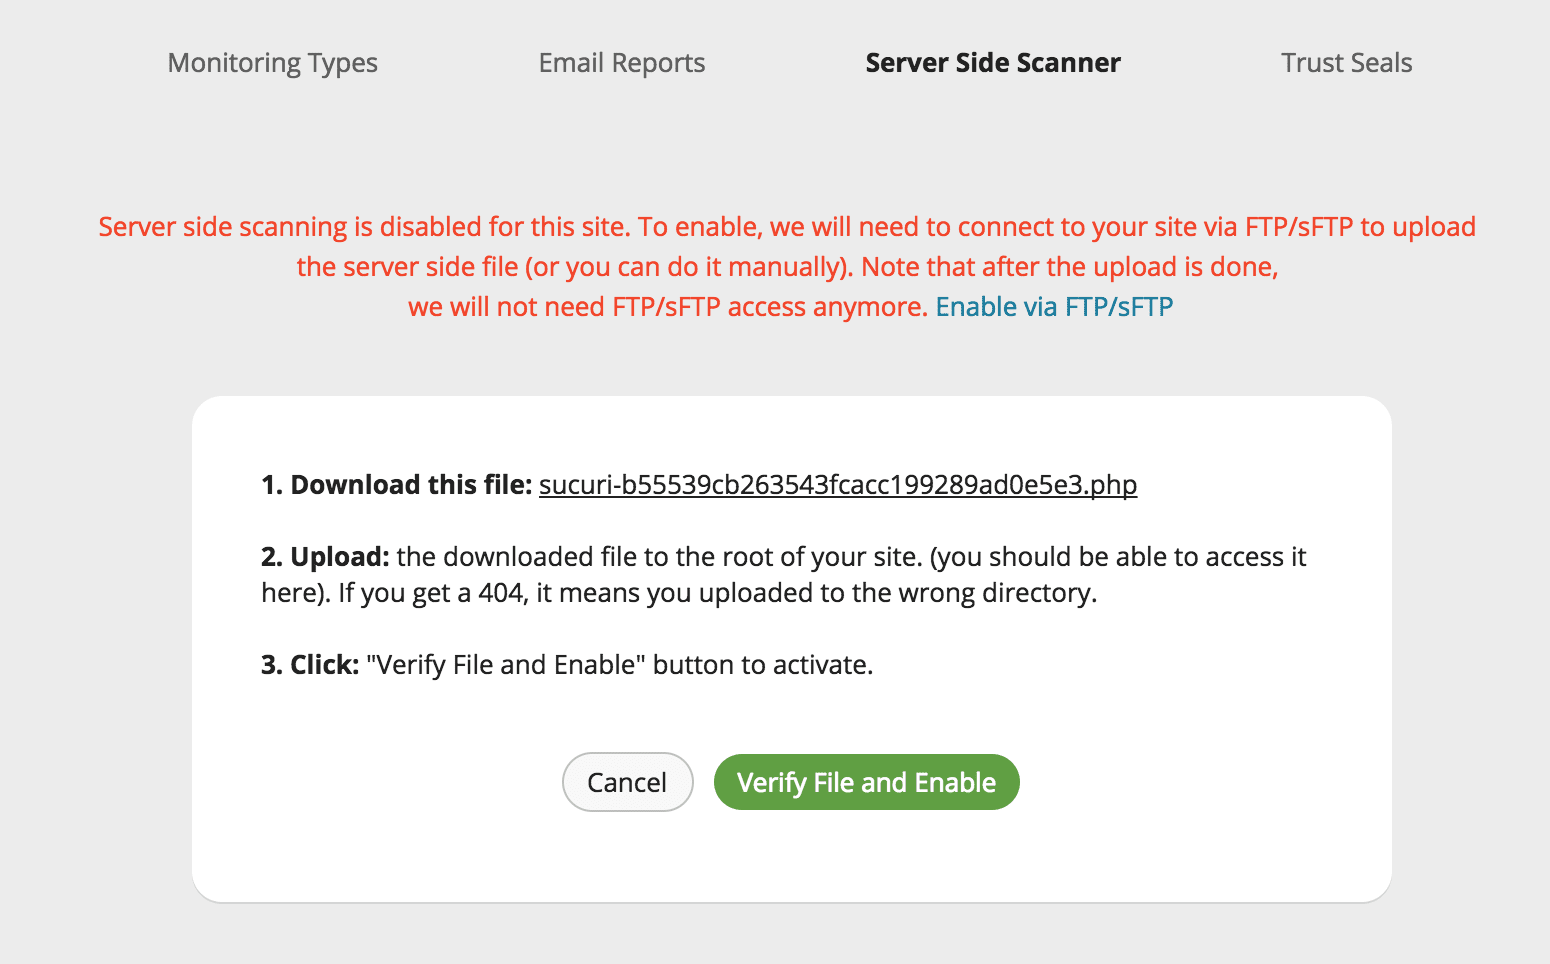
If everything was done properly, you should get a confirmation message.

When the file has been verified, the scan will be queued on the monitor server and should complete in the next few hours.
NOTE
To run Server Side Scanner, your hosting provider must support PHP, TLS 1.2, and your site must be publicly accessible.