

To provide an additional layer of security, Sucuri Firewall users can enable Protected Pages.
Protected Pages restrict access to specific pages on your website and can also serve as an additional authentication layer for administrative panels.
You can choose from four authentication methods:
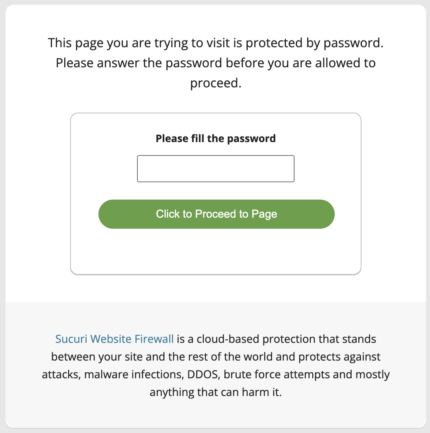
- Password Protection
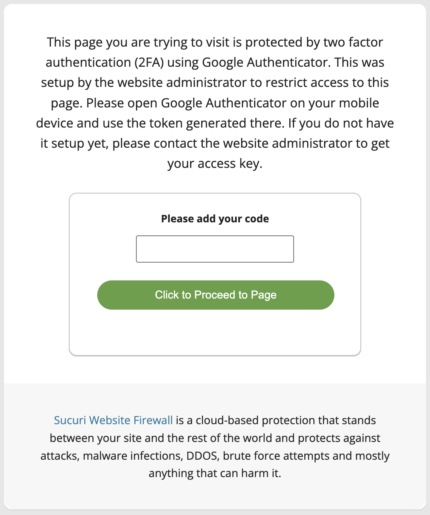
- Two-Factor Authentication with Google Authenticator
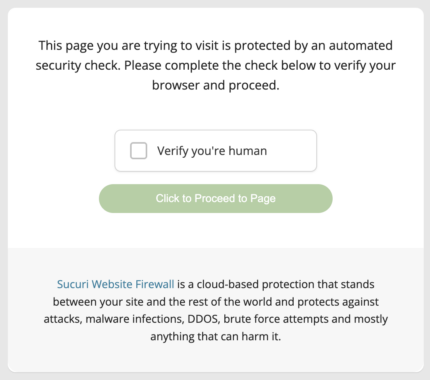
- CAPTCHA Challenge
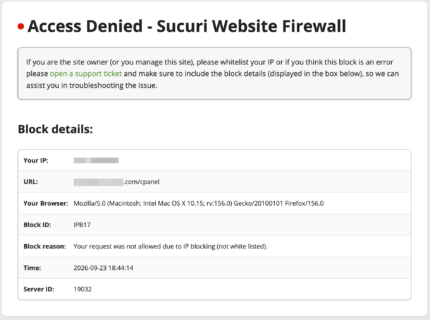
- IP Address Restriction
The selected authentication method is presented to visitors when they attempt to access a protected page. This is what site visitors will see for each:
Password Protection
Two Factor Authentication with Google Authenticator
Captcha Challenge
IP Address Restriction
Enabling a Protected Page
- To configure a Protected Page, click here to go to the Protected Pages settings.
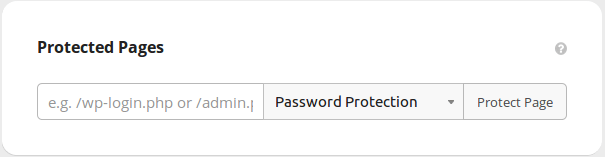
- Add the page that you want to protect, such as /wp-login.php or /admin.
- Choose the type of authentication method you want and select Protect Page.
If you have any questions, or need help, please open a ticket here.
NOTE
- If the user successfully validates access, the WAF will not prompt for a password, authentication code, or to complete a Captcha challenge again for 30 days.
- The IP address restriction is always in place unless the user’s IP address has been allowed in the firewall settings.
- The Password, Two Factor Authentication, and Captcha validation types are cookie-based, therefore, if accessing from a different browser/device or if the browser cookies are cleared, the Protected Page challenge will be prompted again.
- You can remove and re-add the Protected Page to force a revalidation for all users.
- The Password Protection option generates a random password, it’s not possible to customize it, but you can request a new random password at any time in the Protected Pages settings.
- If you add the root directory of the website (/) as a Protected Page, it may disrupt SSL issuance and renewal processes.
Was this article helpful?