
Configuring the Sucuri Firewall to work with Shopify is easy but requires a few extra steps.
1) If you didn’t set up your own domain with Shopify, follow “Setting up your existing domain” article from Shopify’s help center.
It’s important that you set up your domain with Shopify before activating the Firewall. At the “Online Store -> Domains” section of Shopify dashboard, you can double check the Status of the domain. If you see an “SSL unavailable” badge, please allow a few more hours for that to take effect.
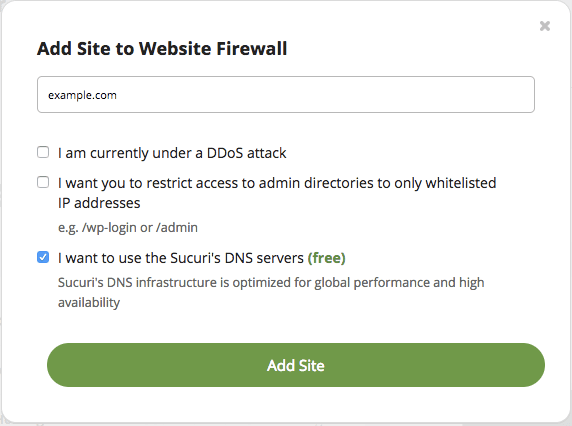
2) Once the DNS changes propagate and Shopify is working with your domain, add your website to the Firewall, selecting the “I want to use the Sucuri DNS servers” option.
3) Change your Hosting IP to have the value shops.myshopify.com and delete any other Hosting IP your domain may have.
4) Activate the option “Force passing the hostname via TLS/SSL” under the Security tab in the Sucuri Firewall settings page.
5) Make sure your “Caching Level” is set to “Site Caching” under Performance tab.
6) On the right side of the Performance tab, access the “Brotli” item, select the “Enabled” option and click on “Save”.
7) Set the “SSL Mode” option to “Full HTTPS” under HTTPS/SSL tab.
8) Double check if all your DNS entries are configured under the DNS tab, including your MX and SPF records that are responsible for your mail setup.
The main A record and the www A record will be pointing to the Sucuri Firewall cluster by default, you don’t need to change it.
9) Last, but not least, access your registrar (the company you purchased your domain from) and change the DNS to the DNS servers listed on the “Expected Name Servers” of the DNS tab.
Allow a few hours for the DNS change to take effect. Your store will now be protected and optimized by Sucuri Firewall.