Here’s a step by step on how to configure the Sucuri firewall if your website is hosted at GoDaddy:
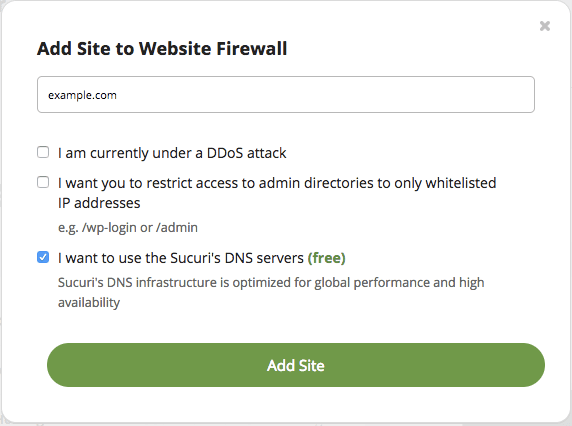
1) Add your website’s domain name here, by clicking on Add Site in the top right hand corner. Then, add your domain name and click on Add this Site.

2) Once your site is added, you will see a page with instructions on how to activate the DNS Manager.
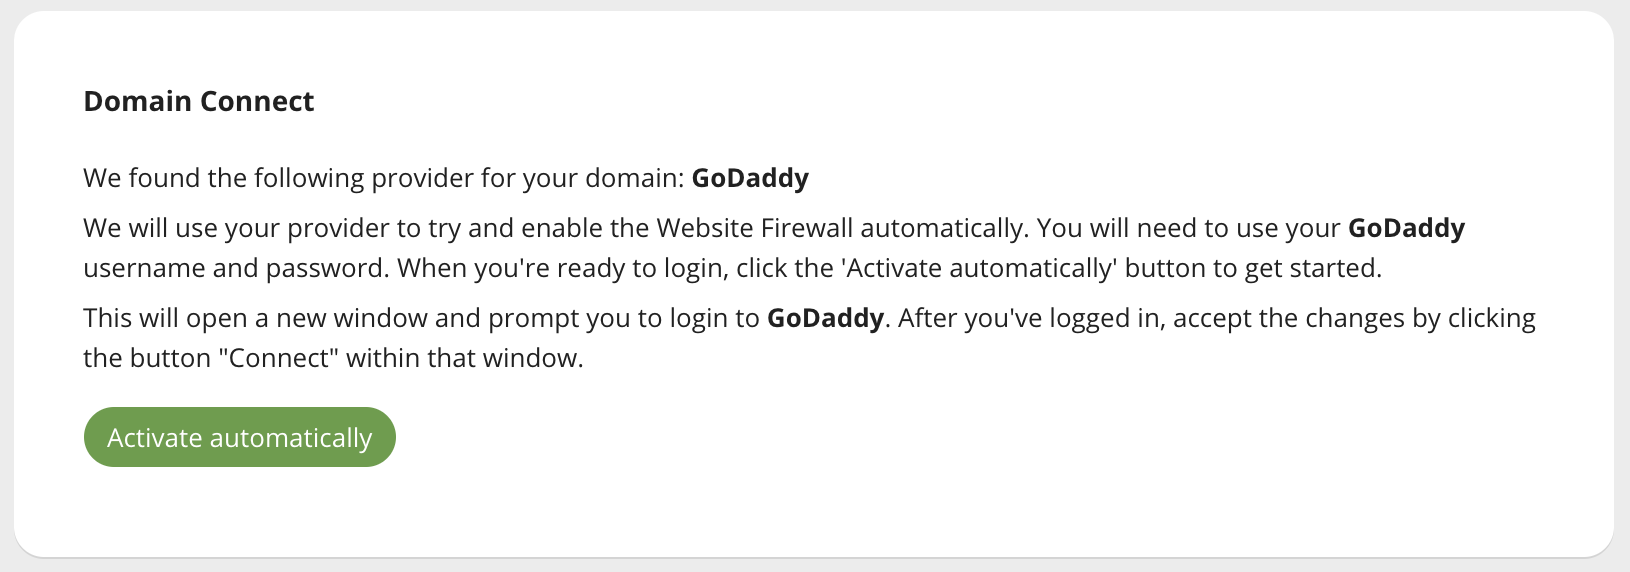
If your domain name is registered with GoDaddy, then you will see a section allowing you to connect to your GoDaddy account so that our system can try to assist and activate the firewall for you.

If you chose to activate the DNS Manager with us, then in the DNS section, we will provide new nameservers for you to use for your domain to push the traffic through us. Copy the nameservers for that site as you will need them in step 3.

Note: If there are existing DNS records that you don’t see in the Sucuri DNS manager, make sure you add those before changing the nameservers to Sucuri.
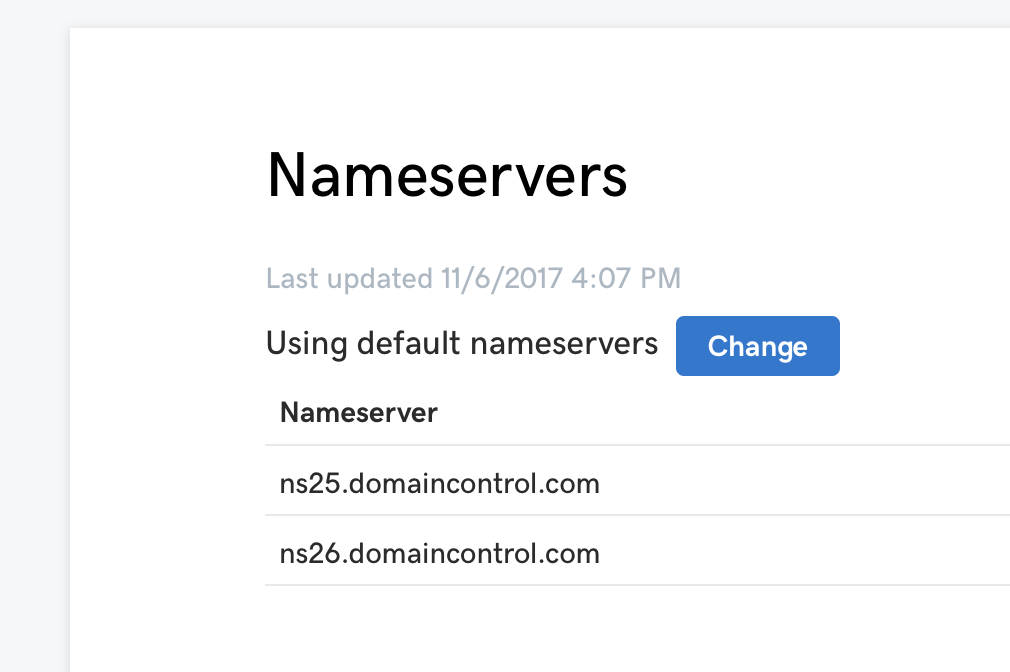
3) Now, in GoDaddy, go to the settings for the site you are activating the Sucuri firewall for. In the Nameservers section, click on Manage to update the nameservers. All you have to do is replace the existing nameservers with the nameservers you copied in step 2.

And that’s it! These changes will take around 12-24 hours to fully propagate and after it’s been done, your site’s traffic will be going to our servers.
If you prefer, we can do this for you! Just open a ticket here and make sure to include your GoDaddy login information.
