
If you are using MaxCDN and want to add Sucuri Firewall protection to it, this guide will help you get that configured. By using both services together, you get the benefits of MaxCDN caching and performance and the security of our firewall.
With that in mind, we’ll need to set up the following:
- The Sucuri Firewall points to your hosting account.
- MaxCDN points to the Sucuri Firewall.
Note: If you have difficulties, open a support ticket and our team will get you all set up.
Step by Step
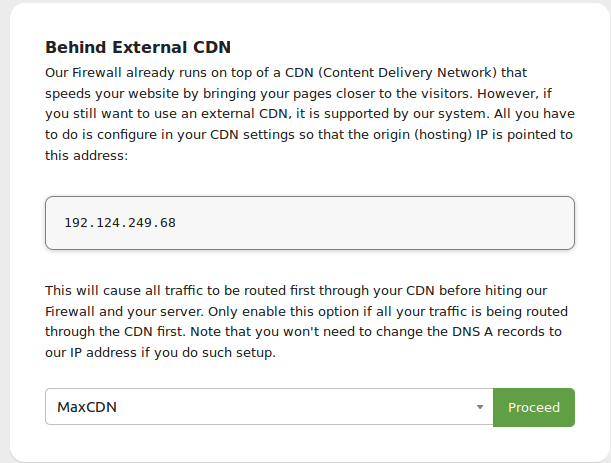
1) Enable the CDN option on the Sucuri Firewall Dashboard setting it to MaxCDN. Just like this image:
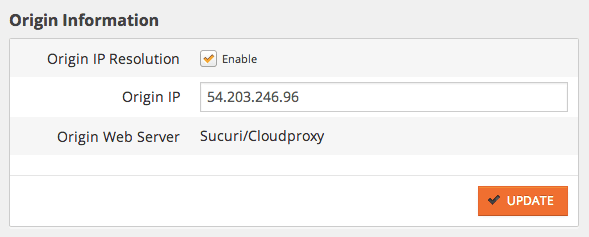
2) On the Sucuri Firewall, we need to make sure that the hosting IP address is actually pointing to your hosting IP address. If the site was previously live at MaxCDN when you added it to the Sucuri Firewall, you will need to manually edit the hosting IP address to point to your hosting.
3) Inside MaxCDN’s settings page for the Pull Zone, you will need to edit the Origin IP address to match your Sucuri Firewall IP Address:
And that’s it. You now have all the benefits of MaxCDN’s excellent services and of our Website Firewall.